
You may remember us taking the cast iron fireplace out of the little man's room when we started pulling all the plaster down. With only the stud wall left to do, which we've pencilled in for next weekend, I thought I'd take a look at cheering up his fireplace.
 |
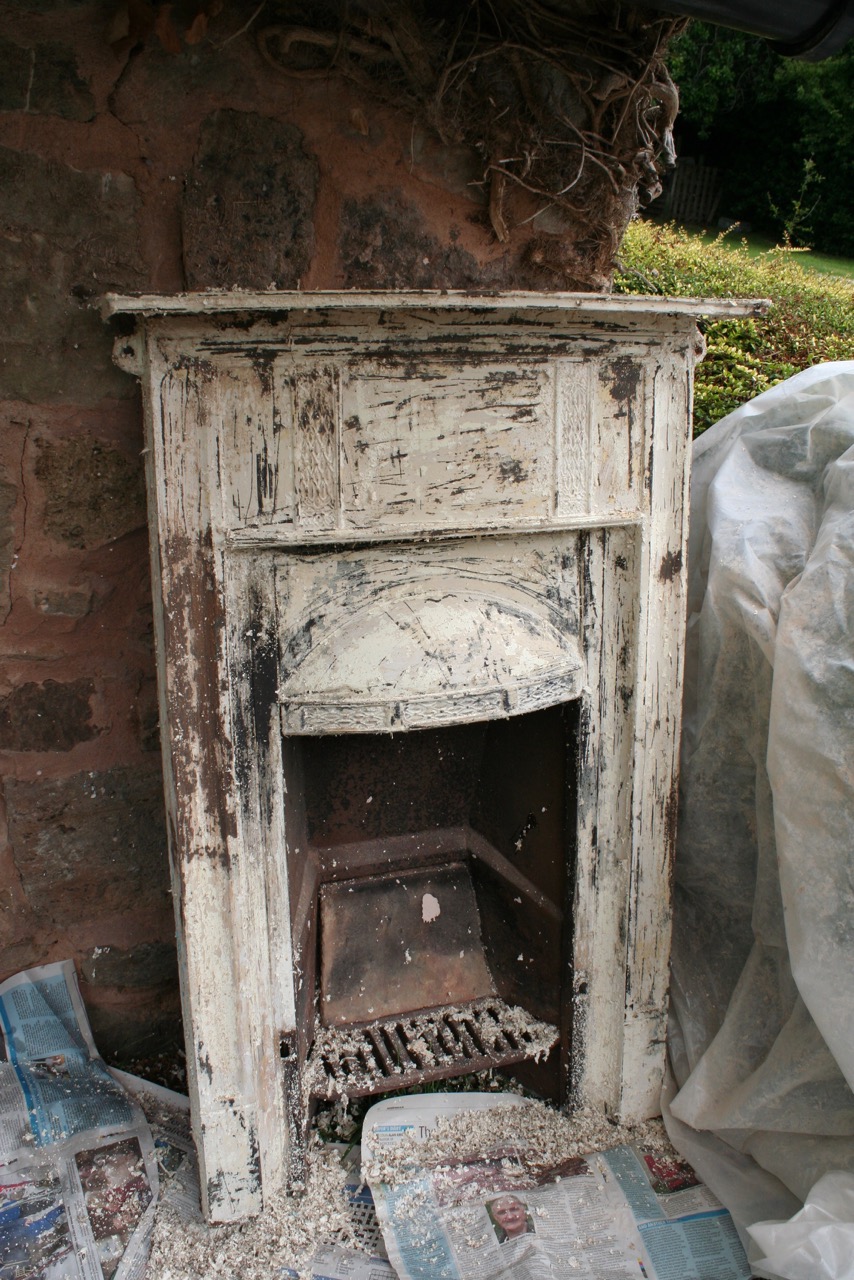
| Before |
It's certainly not an a antique victorian one, it's not even 20's as it's got no art nouveau or even art deco styling. I'd guess maybe 1940's or 50's. I can tell you one thing though, if you could count it's layers of paint like rings on a tree it'd be about 100 years old!
The before picture doesn't do it justice. The previous owners must have bought a vat of magnolia paint to sell the house. Everything is the same colour, the walls, even the ceilings, woodwork, windowsills and this fireplace was painted in matt magnolia.
First job was down to Nitro Mors. It's not quite as caustic as it used to be, I remember when I first used it having little red burns all over my arms. We had an old paintbrush in the garage that had been used for doing the oil based gloss and it had dried a hard as rock. A few dips in the paint stripper and it was almost as good as new though.
You can see the blistering from the first coat, so satisfying.


It says on the tin one coat will strip up to 15 layers. The *up to, is the clue, bloody liars! I borrowed one of James' chisels to peel the paint off, not sure how pleased he'll be when he reads this. I also borrowed one of his wire brushes to get in the crevices. After about 4 goes with the paint stripper and implements it was finally down to the original rust... I mean metal.
 |
| Two coats of paint stripper done |

 |
| Just the details to scrub |
 |
| After final layers of paint have been removed |
I ordered some stove paint that withstands high temperatures. I don't plan on using it as a fire in the kids rooms but it gives the matt black finish that's traditional for cast iron fireplaces. When we've done this before we've used a pot of paint but as this fire was out of situ I opted for spray paint to try and keep the detailing as much as possible. So now it looks lovely and smart and ready for the room when we get around to finishing it.
 |
| Restored to it's former glory |
What a good job you made of the fire. Several house moves ago I used to have a similar one. I did light it a couple of times but the draft from the sash windows took the heat up the chimney so the room ended up colder!
ReplyDeleteHard work, but a nice finish, well done
ReplyDeleteNice work. You never know when another fire place will come in handy. I have a Tennessee fieldstone fire place and two wood stoves. I've used them all when it got really cold.
ReplyDeleteYou have done a brilliant job with restoring the fire place, its great when you can get jobs like this done, the fireplaces that were upstairs here were ripped out years ago and closed up shame really I like the idea of fireplaces in the bedrooms even if they are not for lighting :-)
ReplyDeleteBeautiful! It looks like new. Great idea with the stove paint.
ReplyDeleteStripping paint is oddly satisfying. Next time I see you I'll take the chisel and regrind it for you.
ReplyDeleteHi friend really good job & nicely changing on the fireplace. I bought a fireplace from architecturalstoneelement.com recently by my friend's concern. It provides better fireplace with affordable price. But I have an older fireplace & I think your idea is good for reuse that fireplace. Thanks dear for blogging.
ReplyDeleteLove the photo updates and I really admire you taking on the fireplace project! You’ve done a marvelous job.The fireplace looks amazing!!.
ReplyDeleteA little bit of elbow grease goes a long way, great restoration job!
ReplyDeleteHave you set it up to use some day for heat?
ReplyDeleteGreat read thankyouu
ReplyDelete